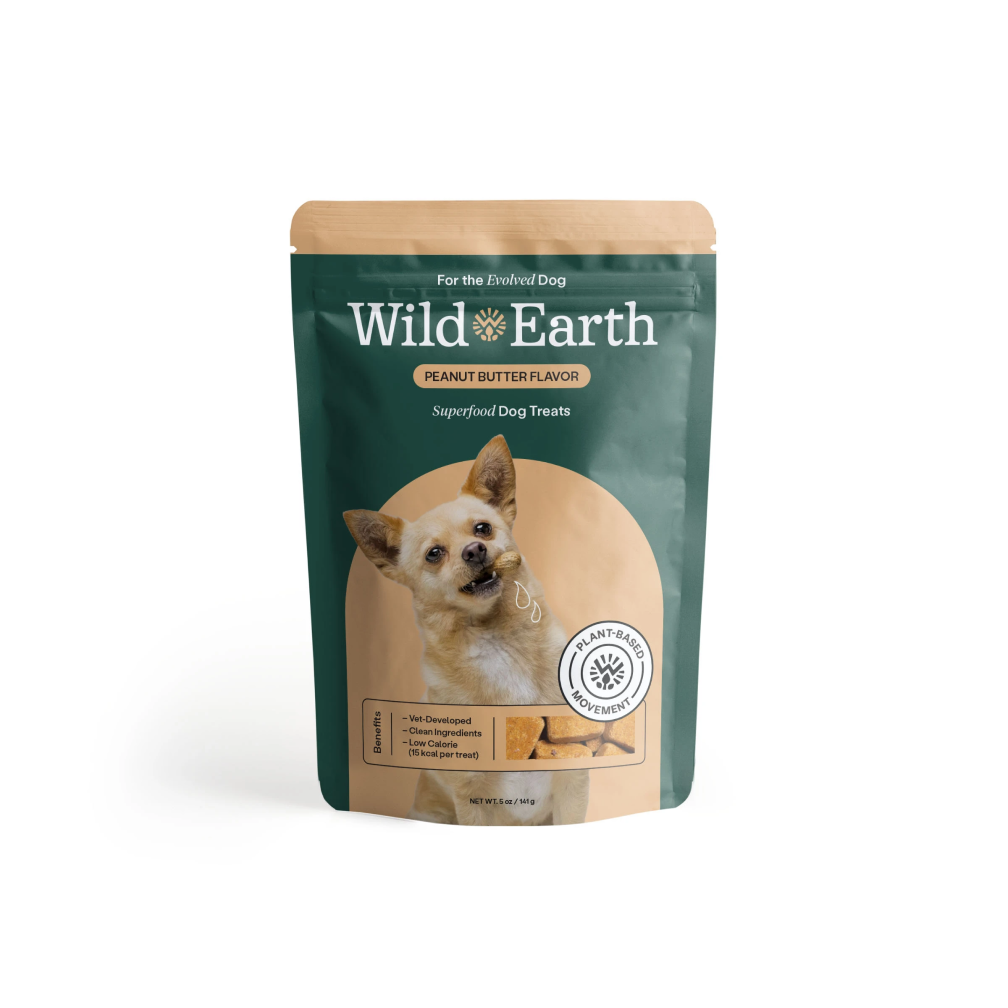
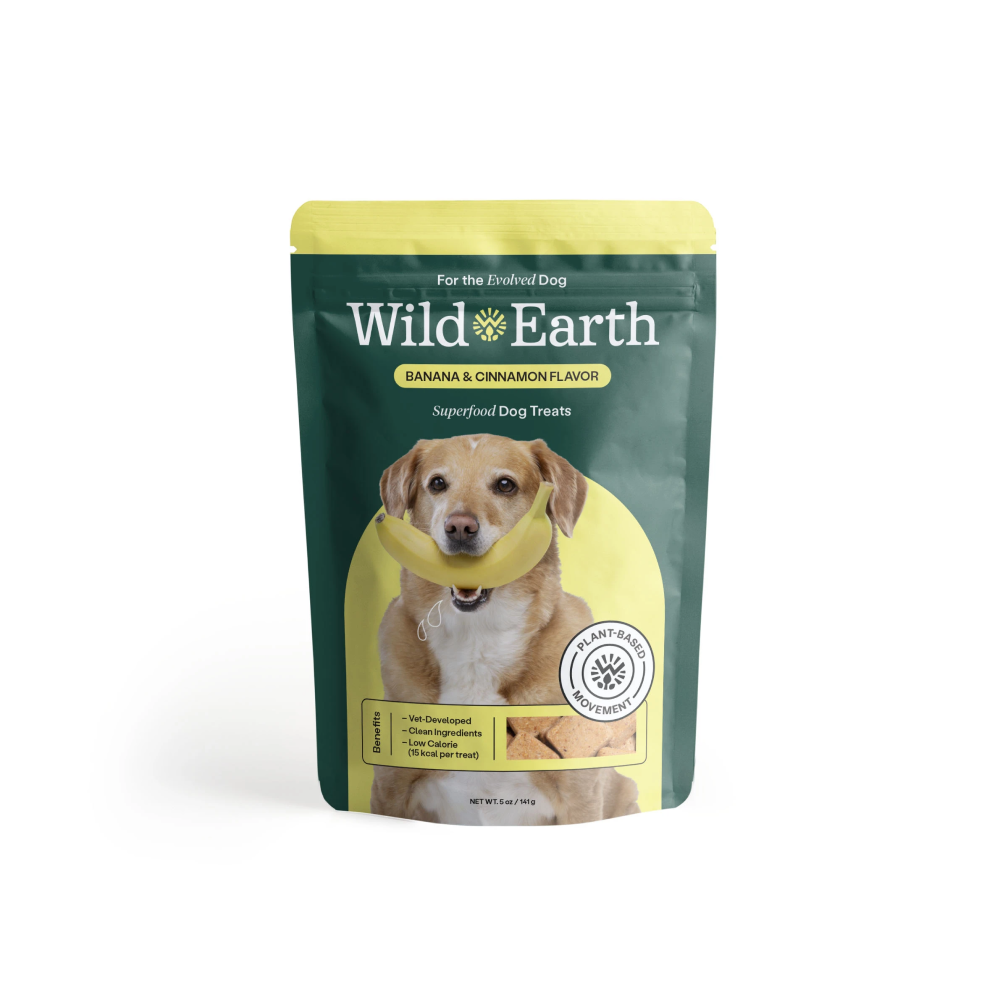
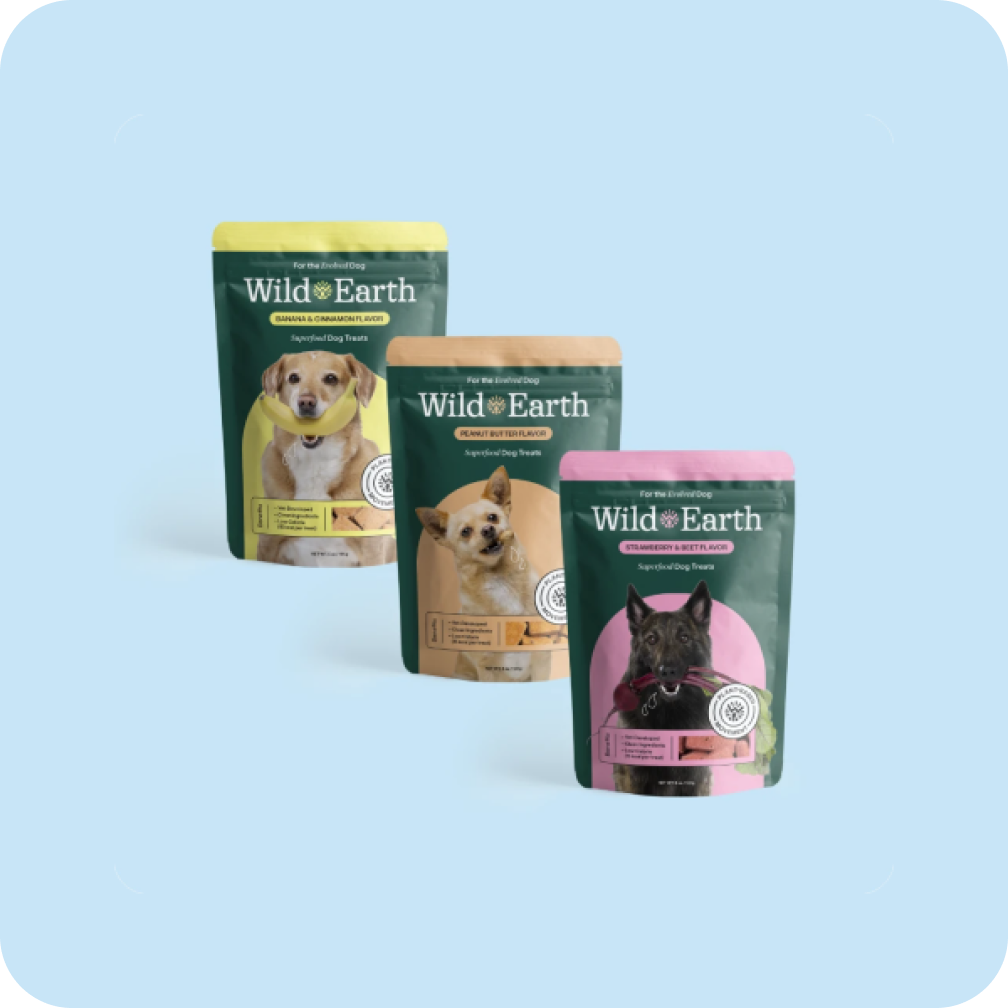
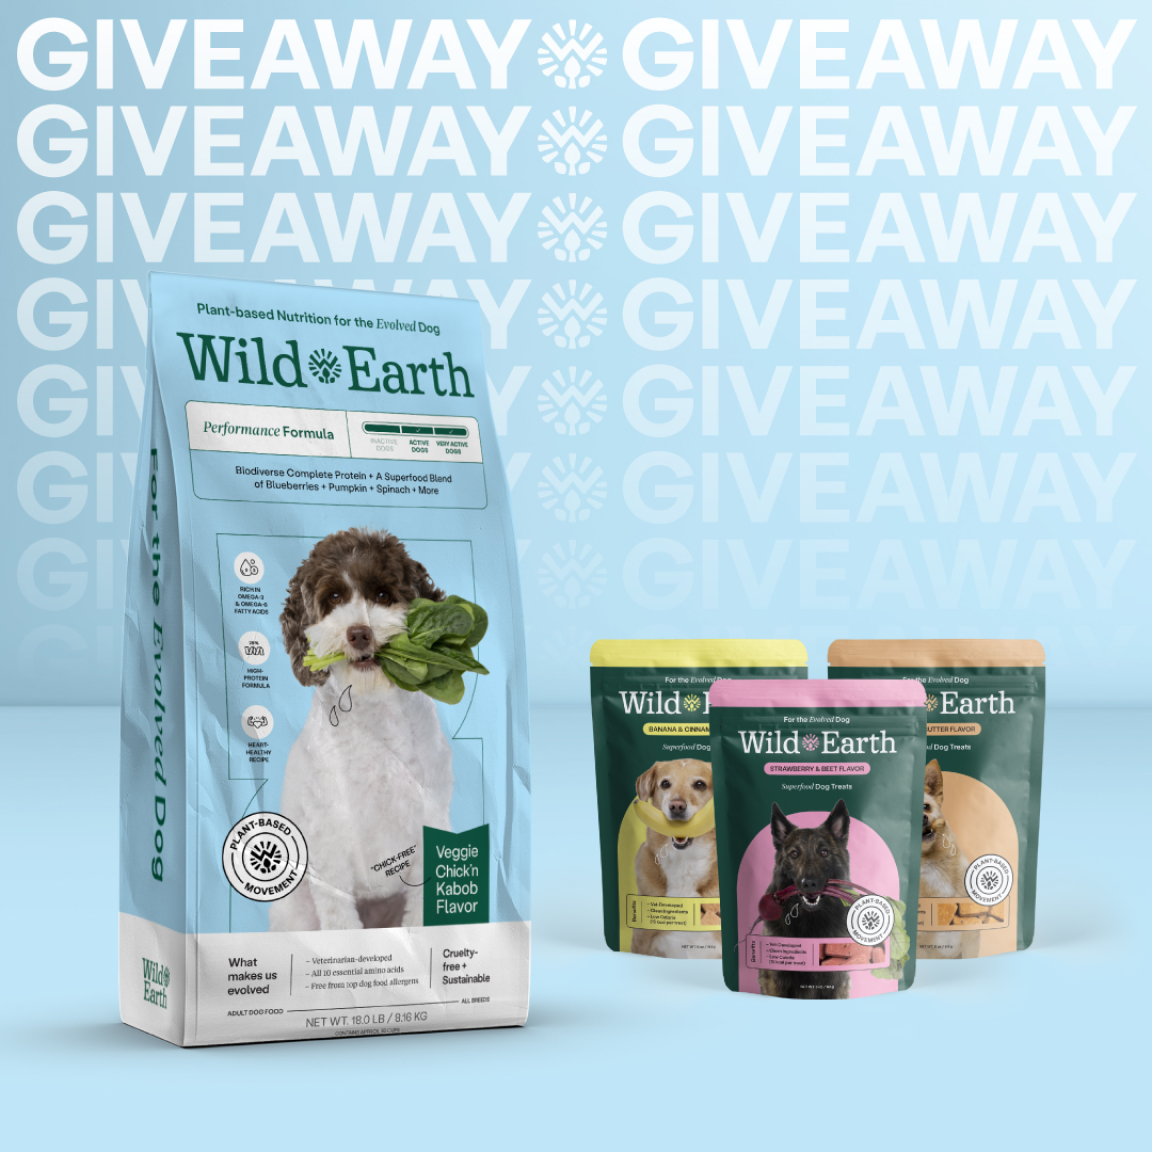
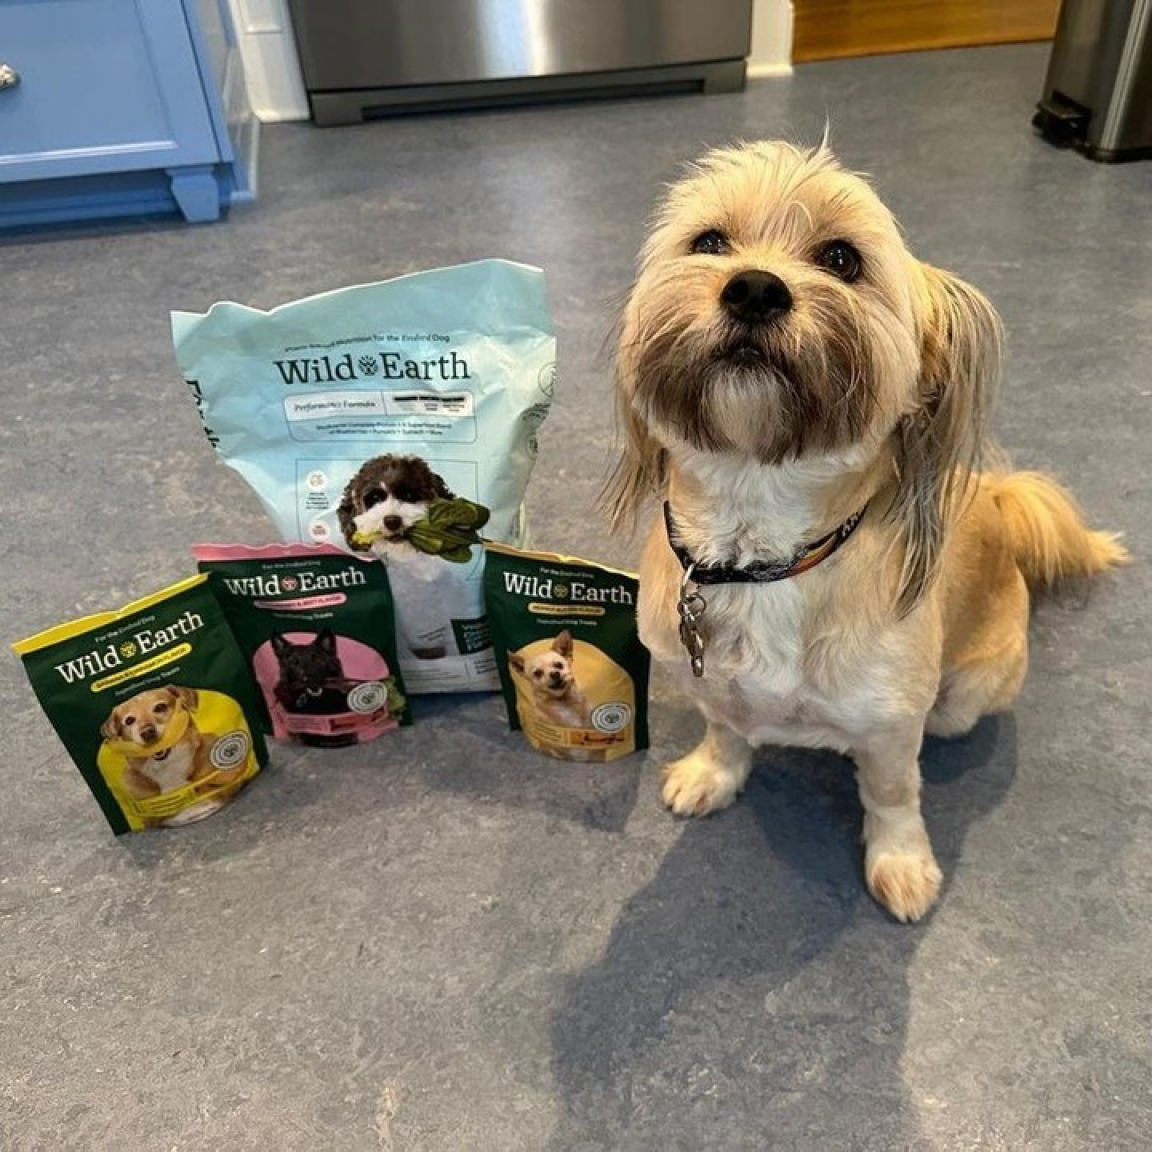
3 Pack - Superfood Dog Treats with Koji (5 oz per bag)
[product.metafields.smart.subtitle]
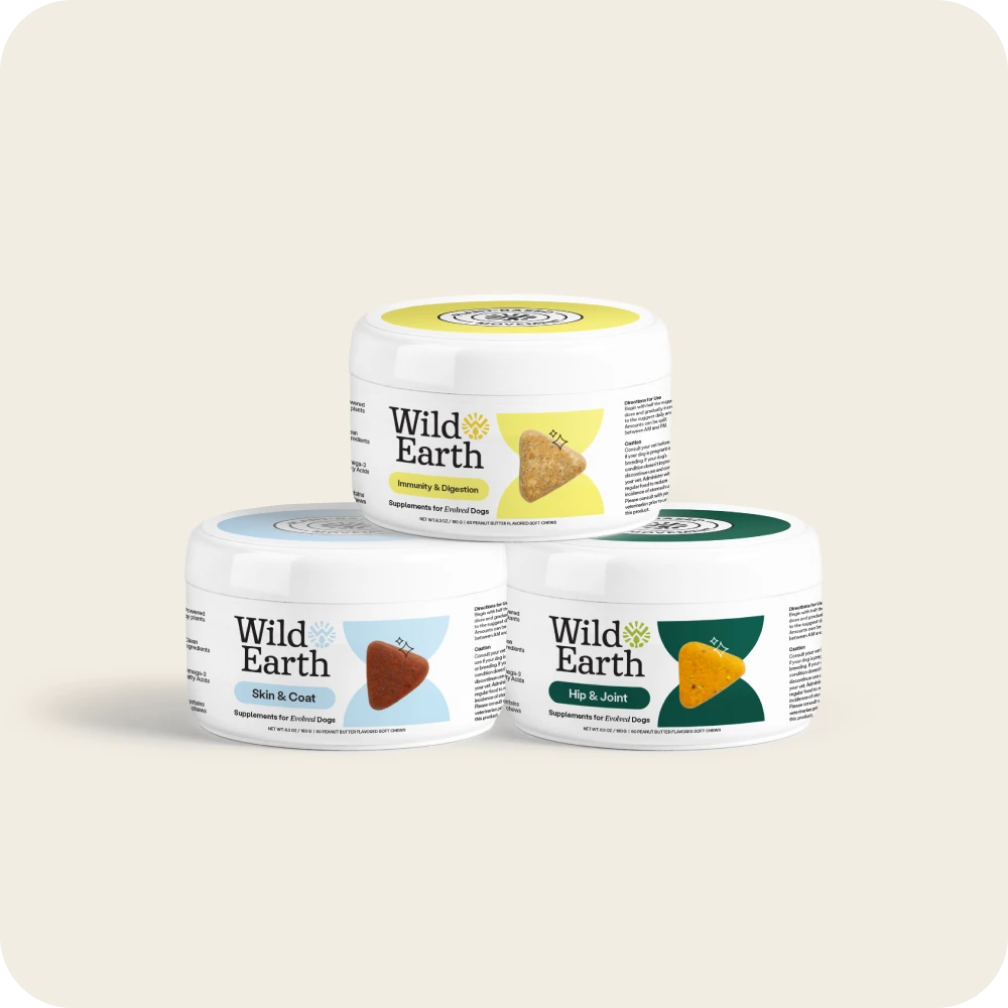
Pairs well with:
Description
Description
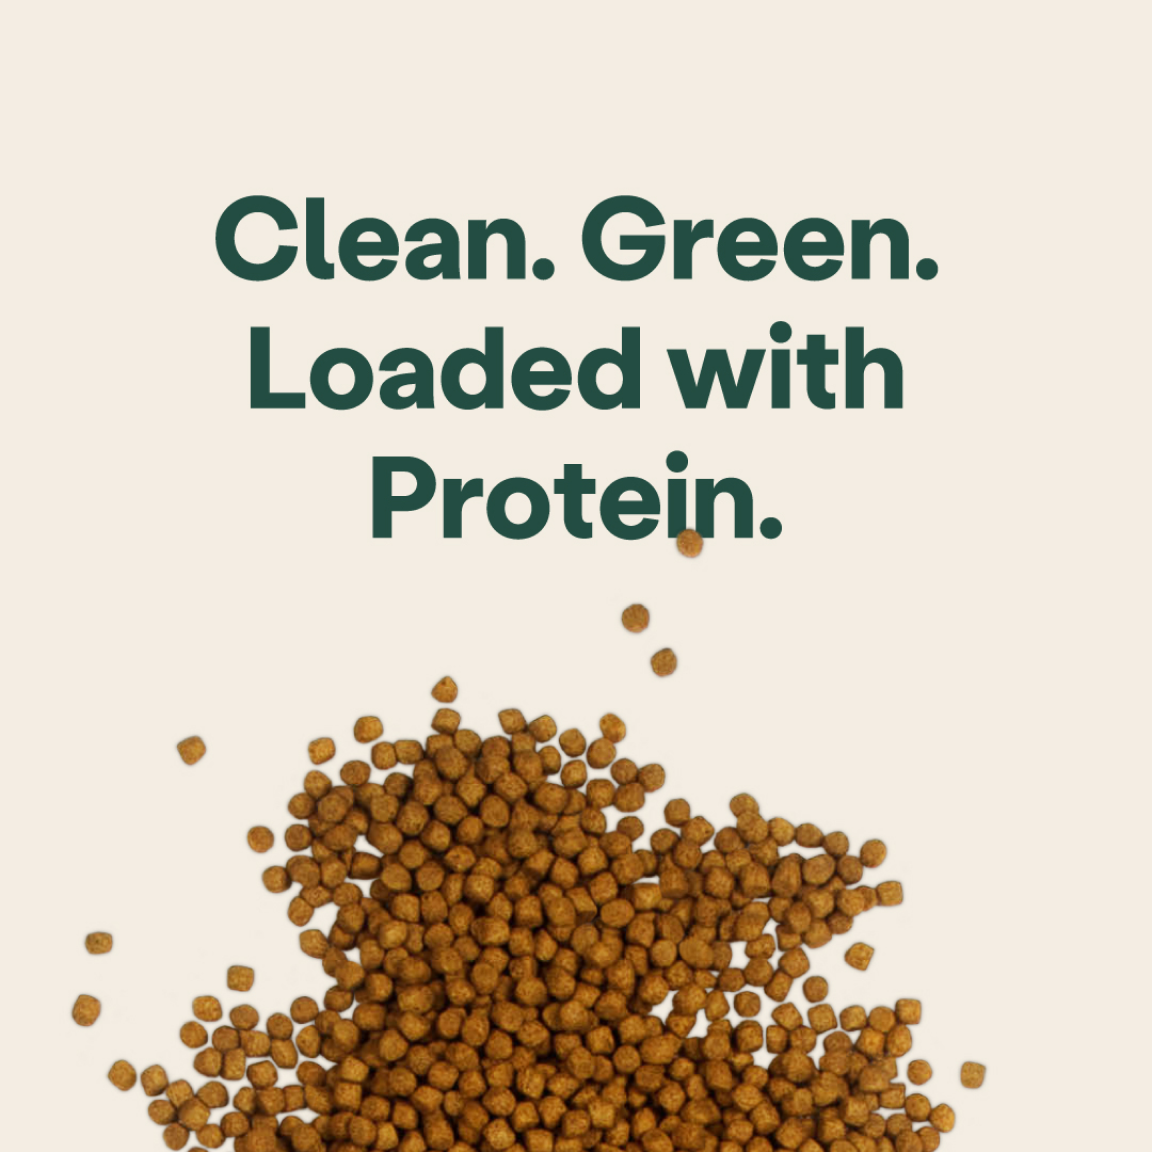
Ingredients that won’t disappoint, give your pup a snack that is irresistible and healthy.
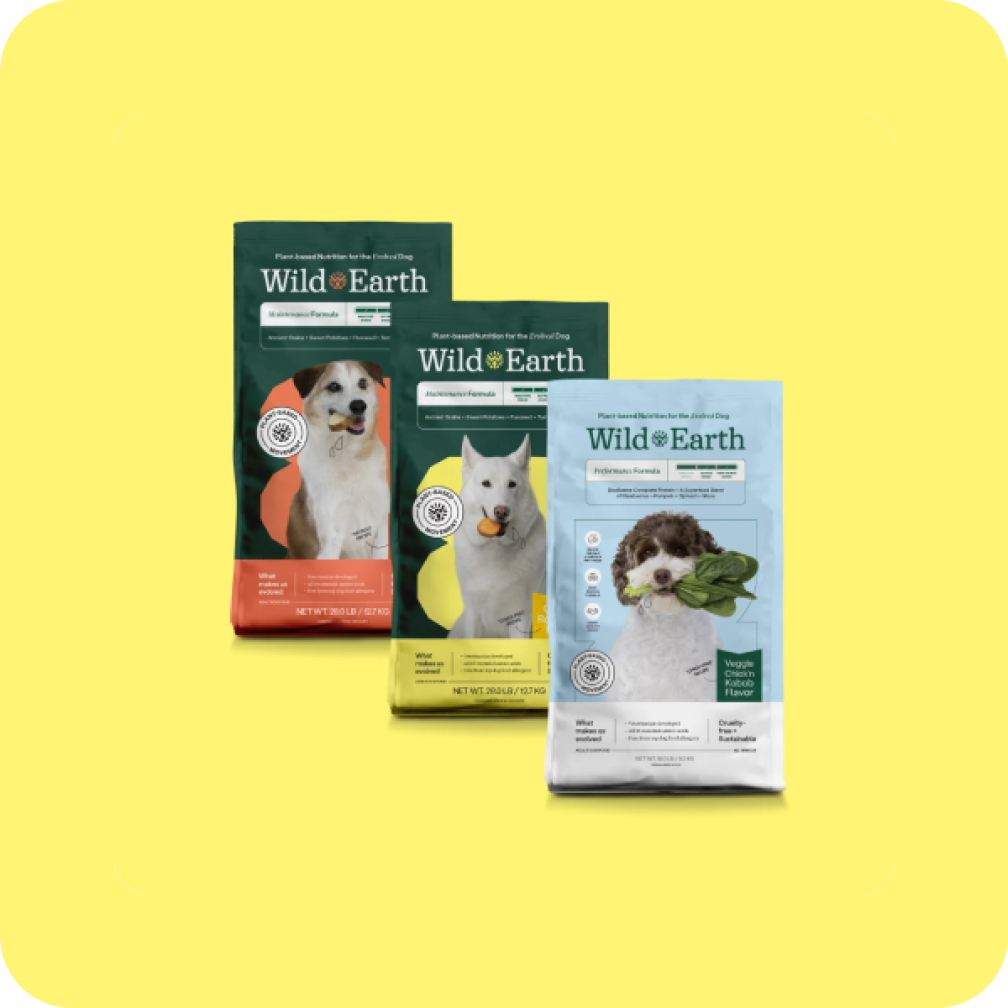
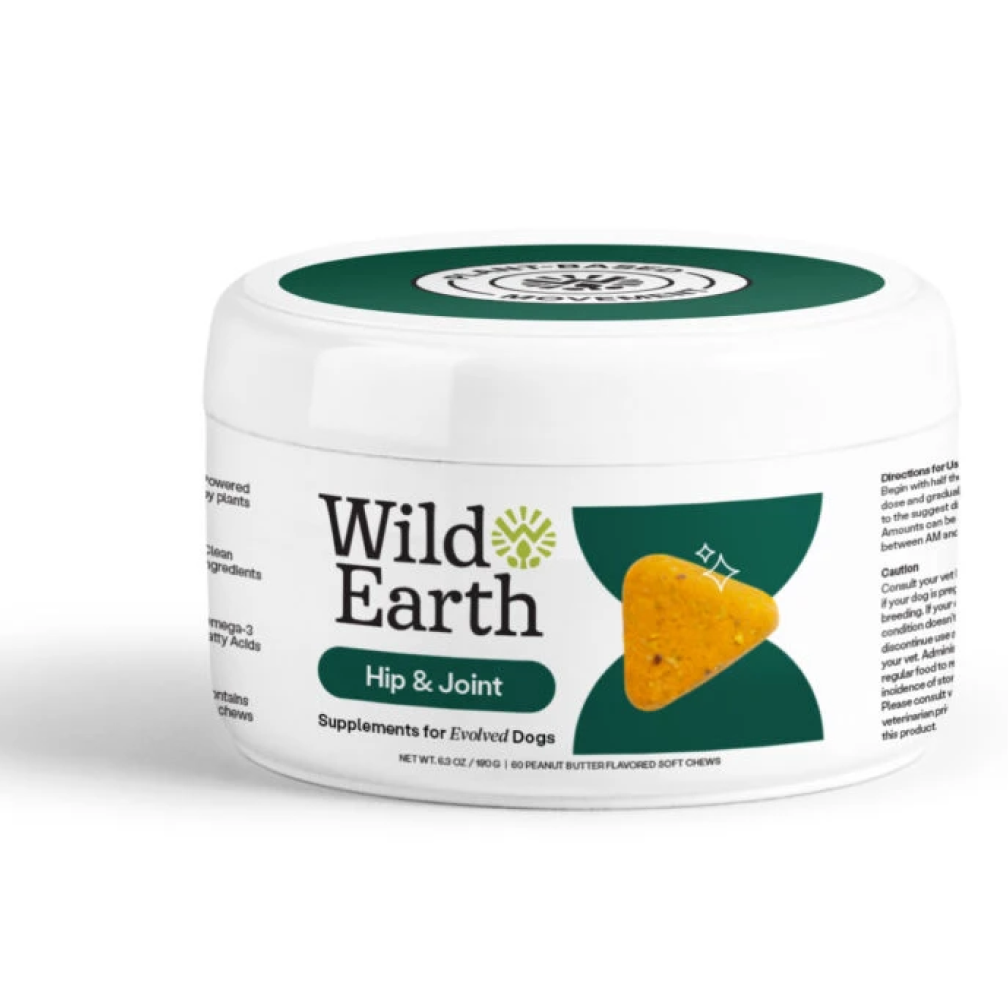
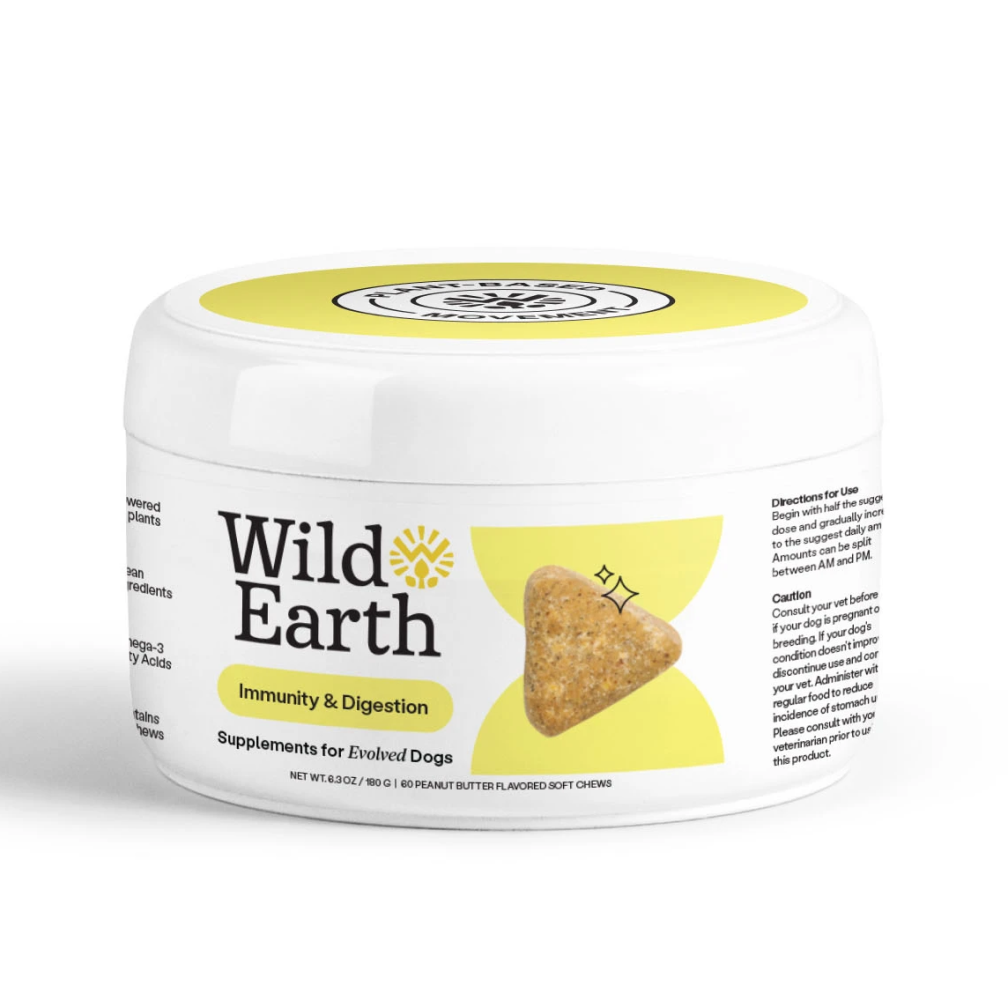
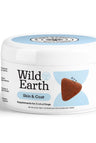
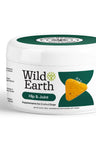
Ingredients Performance Formula
Ingredients Performance Formula
Ingredients Performance Formula
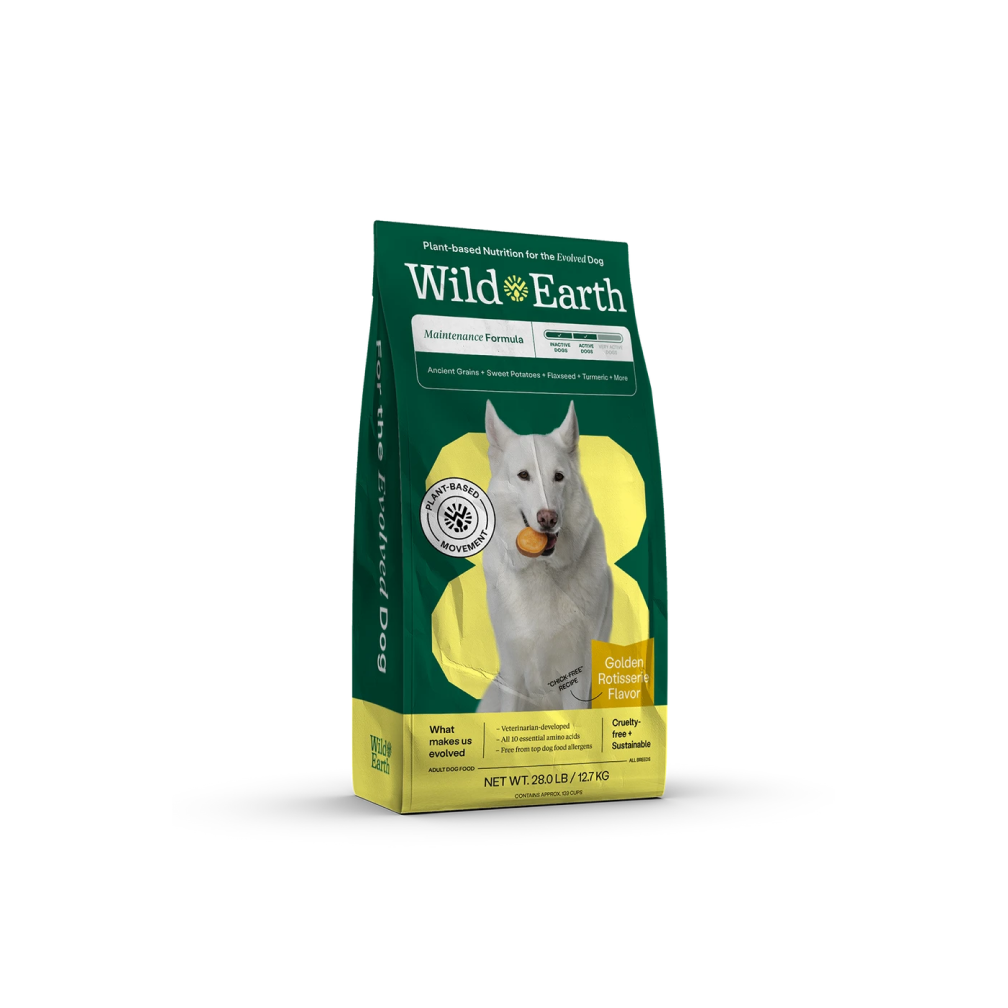
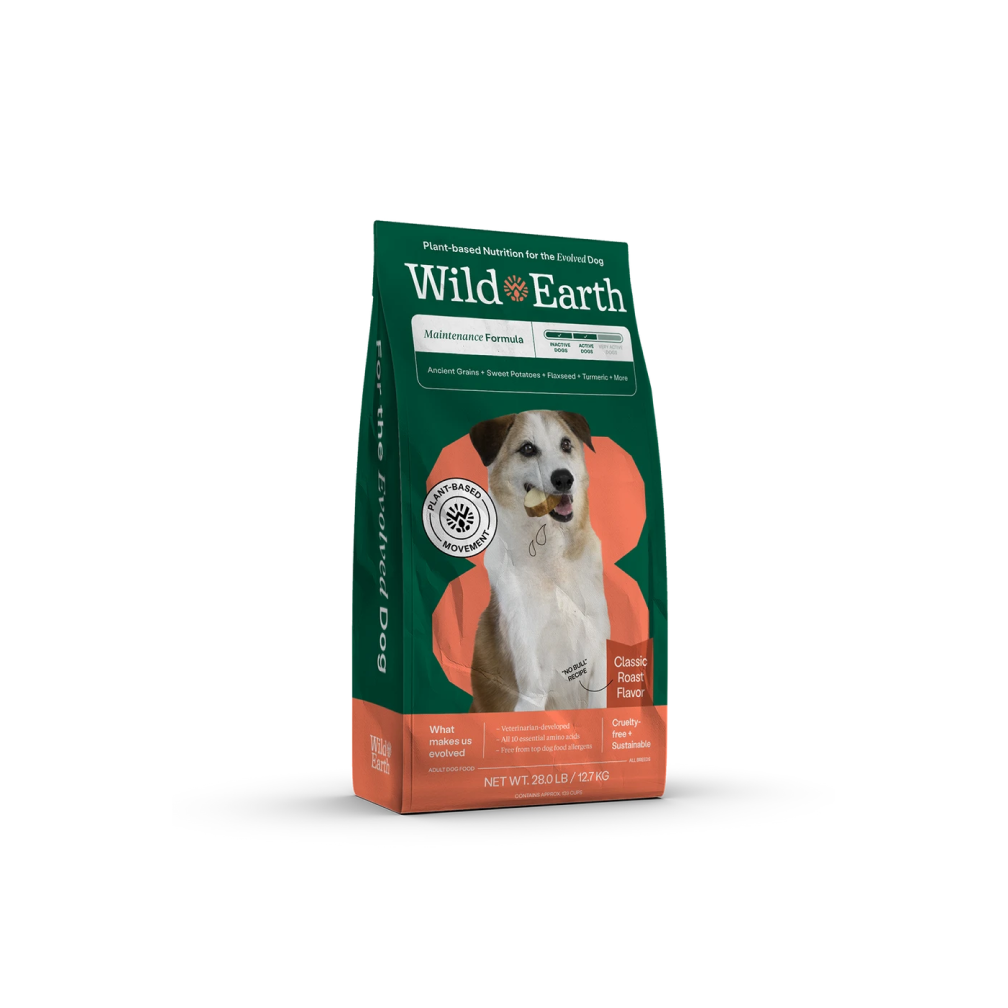
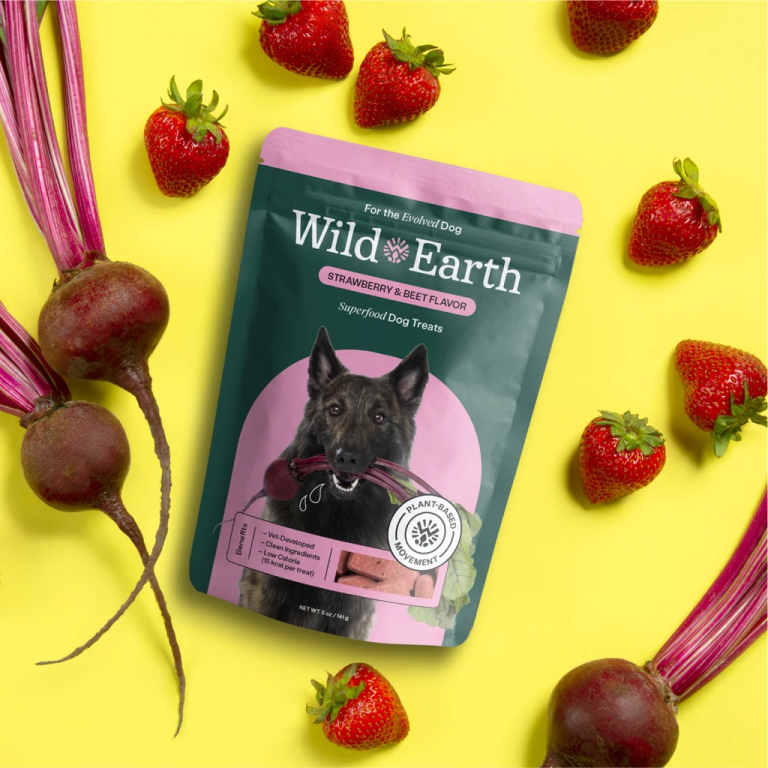
Drool-Worthy Flavor Profile
Drool-Worthy Flavor Profile
Drool-Worthy Flavor Profile
Guaranteed Analysis
Guaranteed Analysis
Guaranteed Analysis
Happiness Guarantee
Happiness Guarantee
Happiness Guarantee